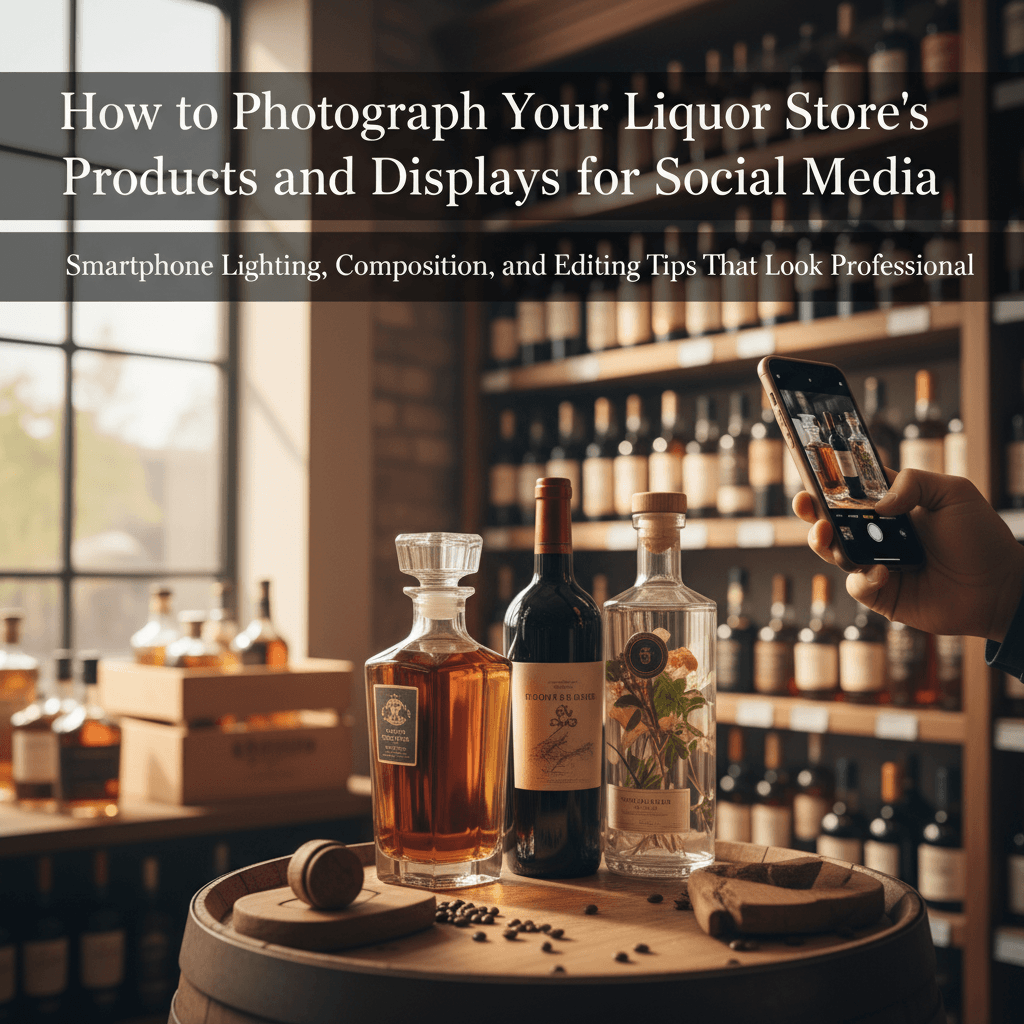
How to Photograph Your Liquor Store's Products and Displays for Social Media: Smartphone Lighting, Composition, and Editing Tips That Look Professional
By Intentionally Creative, Editorial Team15 min read
Listen to this article21:21
Schedule a free strategy call and Intentionally Creative will build a custom plan for you.
Schedule Your Free Strategy CallFree audit. No commitment.
Get a Free Audit. No commitment.
Master liquor store product photography with your smartphone. Get lighting, composition, and editing tips that make your social media photos look professional.
Your top-shelf bourbon deserves better than a blurry photo under fluorescent lights. So does your carefully curated end cap, your seasonal display, and that allocated bottle you spent months tracking down. The reality is that most liquor store owners know their products inside and out, but when it comes to showing them off on social media, they're stuck choosing between expensive professional shoots and phone snapshots that don't do the shelves justice.
Here's the good news: liquor store product photography doesn't require a studio, a DSLR, or a marketing degree. It requires your smartphone, a few basic techniques, and about 30 minutes a week. The stores that are winning on social media right now aren't the ones with the biggest budgets, they're the ones posting original, well-lit, thoughtfully composed photos that make followers feel like they're standing in the aisle.
This guide breaks down everything you need to make that happen. We'll cover why original photos outperform stock every time, how to nail lighting with zero equipment budget, composition tricks that make your shots look intentional, platform-specific sizing, editing workflows that take five minutes, creative ideas to keep your feed fresh, and a weekly routine that makes the whole thing sustainable. Let's get your store looking as good online as it does in person.
Here's the uncomfortable truth: if you're pulling images from stock libraries, your social media looks exactly like everyone else's. And in a scroll-happy world, blending in is the same as being invisible.
The numbers are staggering. Getty Images hosts over 7,875 liquor store stock photos. iStock has 14,356+. Adobe Stock? A whopping 176,903+ images. And when you zoom into drink product photography specifically, Getty alone serves up over 41,018 results.
That means when you grab a "good enough" stock image of a bourbon bottle on a wooden bar top, thousands of other stores, brands, and blogs are using that same photo, or one nearly identical to it. Your customers can't tell you apart from a chain retailer three states away.
Stock imagery isn't bad for every use case. But for social media, where authenticity drives engagement, it's a losing strategy.
Discover how to promote your liquor store on Instagram with proven strategies. Learn to create engaging content that ...
People genuinely want to see real liquor stores. The Instagram account @liquorstorevideos2 has built a following of 44,000 with just 149 posts. The content isn't polished studio work. It's authentic, original visuals that feel real, and the engagement reflects it.
Over on Pinterest, searches for "alcohol brand photography" show a niche but highly motivated audience looking for exactly the kind of inspiration you could be providing.
And here's what makes product photography for liquor stores so accessible: you don't need a professional studio or an agency on retainer. YouTube creators have demonstrated that smartphone photography, with proper lighting and thoughtful composition, produces results that rival professional shoots.
Original photos of your store, your displays, and your team are the one thing no competitor can replicate. They consistently outperform generic stock on engagement because they carry something stock never will: proof that your store is a real place worth visiting. That's not a nice-to-have. That's your edge.
Now that you know why original photos matter, let's tackle the single biggest factor that determines whether yours look professional or amateur: lighting.
Lighting is 80% of what separates "looks like a security camera screenshot" from "looks like it belongs in a trade publication." And you don't need expensive equipment to get there.
Discover how Instagram Reels for liquor stores works differently than TikTok. Get algorithm-specific tips to boost yo...
Your store's front windows are a professional lighting setup hiding in plain sight. Position products near those windows during the golden hours, the first two hours after opening or the hour before sunset, and you'll get warm, flattering light that makes glass bottles look genuinely premium. That soft, directional sunlight wraps around curves, highlights label details, and gives colored liquids a rich depth that overhead lighting simply can't replicate.
Speaking of overhead lighting: avoid your fluorescent ceiling lights for hero product shots. Full stop. Those tubes create harsh shadows, wash out colors, and produce an unflattering greenish-yellow cast that makes even your top-shelf bourbon look like it belongs in the well. Turn them off, move to the window, and watch the difference.
For the best results, place your bottle so the window light hits it from the side, roughly a 45-degree angle. Then grab a piece of white foam board (under $3 at any dollar store) and hold it opposite the window to bounce light back onto the bottle's dark side. This simple trick fills in shadows and gives you even, professional-looking illumination, cheap, fast, and repeatable.
Natural light is great until it isn't. Cloudy days happen. Winter hours are short. And sometimes you need to shoot at 7 PM on a Tuesday because that new allocation just hit.
A $15 clip-on ring light or a $25 portable LED panel from Amazon solves this completely. These small lights give you consistent, controllable results every single time, no more waiting for the sun to cooperate. Set up a dedicated spot on your counter or in your back office, and you've essentially built a mini photo studio for less than the cost of a mid-range bottle of wine.
The key is positioning. Place your LED panel to one side of the product at roughly the same 45-degree angle you'd use with window light. Pair it with that foam board reflector on the opposite side. Now you have a repeatable setup you can use any day, any time, in under two minutes.
Learn how to repurpose content for liquor stores across 5 platforms. A multi-channel workflow that saves time and dri...
Glass and liquid are the trickiest subjects in photography, and your entire inventory is made of them. But a few simple adjustments make all the difference.
Angle your phone slightly, about 15-20 degrees off center rather than shooting straight on. This one move does two things: it prevents you from catching your own reflection in the glass, and it lets light pass through colored liquids like whiskey, tequila, and rosé for that beautiful translucent glow that stops thumbs mid-scroll.
Here's a pro tip: place a small LED light or even a phone flashlight behind translucent bottles, think vodka, gin, or light rum, to create a backlit effect. The liquid becomes luminous and almost jewel-like. It's the same technique professional beverage photographers use, and it costs you literally nothing extra.
Your photos don't need to be perfect. They need to be well-lit, authentic, and consistent. Nail the lighting, and everything else, composition, editing, engagement, gets dramatically easier.
Great lighting makes your products look good. But where you place them in the frame is what makes your photos look intentional. Let's talk composition.
Generic bottle shots disappear into the noise. Your photos need to look deliberate, like you meant every pixel. Here's how composition gets you there.
Turn on your phone's grid overlay right now (Settings > Camera on both iPhone and Android). See those four points where the lines intersect? That's where your hero bottle belongs, not dead center. Placing your subject off-center creates tension and visual interest that feels professional without trying too hard.
Then adjust your angle. Shoot bottles at roughly 30–45 degrees from the base, angling slightly upward. This makes bottles look taller and more commanding. It's the exact angle professional liquor brand photographers default to, and it works because it mimics how we naturally look up at something impressive.
You've got three go-to compositions:
A bottle on a blank surface is a product listing. A bottle next to a cocktail napkin, a sliced lime, and a branded tasting glass? That's a story.
You don't need Photoshop. You don't need a Creative Cloud subscription. You need five minutes and a free app on your phone. That's it.
Every photo you post should get these five tweaks, in this order:
That's your entire workflow. Five edits, five minutes, done.
One critical warning: avoid over-editing. Heavy filters, cranked saturation, and dramatic vignettes make your photos look untrustworthy. Customers want to see what that bottle actually looks like on your shelf. Your goal is clean and real, not Instagram-influencer-circa-2014.
You've got three apps worth downloading. Each does something different, and together they cover everything you need.
Snapseed (free, by Google) is the best all-around editor for retail owners. Its killer feature? Selective editing. You can brighten just the bottle label without blowing out the background behind it, perfect for those dimly-lit shelf shots where the product needs to shine.
Your photos need personality to stand out. Here's how to break the mold.
Modern liquor stores are becoming destinations, tasting events, curated displays, staff picks. Capture those moments. A photo of customers laughing at your Friday tasting says more than any bottle on white seamless ever will.
Behind-the-scenes content works too. Stocking shelves, unboxing allocated bourbon, staff recording tasting notes, this authentic content consistently outperforms polished shots on engagement because it builds real trust.
Simple tricks dramatically elevate your results. Mist bottles with water for that "just chilled" look. Capture a mid-pour action shot. Build seasonal displays with themed props, fall leaves around pumpkin ales, cocktail ingredients flanking a featured spirit.
And don't sleep on free content: encourage customers to tag your store, then reshare their photos. User-generated content fills your calendar and builds community simultaneously.
All of these techniques, the lighting, the composition, the editing, the creative ideas, only work if you actually do them consistently. That's why the final piece of this puzzle is a repeatable routine you can stick with week after week.
Your customers can spot a stock photo instantly. Here's how to create original content in just half an hour each week.
Simple props, a cutting board, citrus garnish, or cocktail shaker, transform a basic product shot from forgettable to compelling. Keep props relevant and minimal.
One last tip: leave negative space on one side of your frame. That empty area isn't wasted, it's where you'll add text overlays for promotions, making each image work harder across every platform you post to.
Speaking of platforms, not all of them treat your photos the same way. The next step is making sure your well-lit, well-composed shots are actually sized and optimized for where your customers will see them.
Posting the same photo at the same size across every platform is leaving engagement on the table. Tailoring your images to each platform is now table stakes, not a bonus.
Instagram: Feed posts perform best at 1080x1350 pixels (4:5 portrait ratio). Stories and Reels need 1080x1920 (9:16 vertical). Keep carousel slides consistent, mixing ratios looks sloppy.
Facebook: Use 1200x630 for link posts and 1080x1080 for standard photo posts. The algorithm currently rewards Reels-style vertical video, so consider short 15-second product showcase clips alongside your still photos.
Google Business Profile: This is the most overlooked opportunity. Upload bright, well-lit store interiors and product shots at 720x720 minimum. These photos directly improve your local search visibility and click-through rates.
Across all three platforms, original photos of real products in real stores consistently outperform generic imagery. Audiences are hungry for authentic content, the success of accounts dedicated entirely to liquor store visuals proves the demand is there.
The smartest workflow? Shoot at your phone's highest resolution, then crop afterward for each platform. One photo becomes three assets.
Even better, batch your content. Spend 30 minutes once a week shooting 10–15 photos of new arrivals, displays, and staff picks. Crop, schedule across platforms, and you're covered for the entire week.
You've shot the photos. You've sized them for each platform. Now it's time for the step that ties everything together, editing. And it's faster than you think.
Intentionally Creative specializes in social media strategies that drive real results. Let us show you what's possible.
Schedule a CallLightroom Mobile (free version) is your efficiency weapon. Edit one photo until it looks exactly right, save those settings as a preset, then apply them to an entire batch of photos in seconds. Took 15 product shots on Tuesday? Edit one, tap-tap-tap, and they're all done. This alone will save you hours every month.
Canva (free tier) handles everything text-related. Price callouts, promotional banners, sale announcements, "New Arrival" tags, Canva's templates keep your overlays looking professional instead of like someone discovered WordArt for the first time.
Here's what separates stores that build a real social media following from those that post and pray: consistency.
When your feed has a cohesive visual identity, followers start associating that look with your store before they even read the caption. That recognition is what turns casual scrollers into regular customers.
The formula is simple. Pick three things and stick with them:
Save these as a Lightroom preset and apply them to every post. That's your visual brand, built in minutes, maintained in seconds.
Consistency beats perfection every single time. A feed full of "pretty good" photos that all feel cohesive will outperform a random mix of occasionally stunning shots and phone snapshots every day of the week. Your liquor store product photography doesn't need to win awards. It needs to look like you, reliably, recognizably, every time someone scrolls past.
Once you've nailed the technical fundamentals, it's time to push beyond the standard bottle-on-a-shelf shot. The stores building real followings are the ones that bring creativity and personality to their feeds.
Minutes 1–5: Grab 3–5 products, new arrivals, sale items, staff picks. Snag your white foam board reflector and one simple prop (a cocktail glass, citrus, or seasonal item). Set up near your best natural light source.
Minutes 5–15: Shoot each product from three angles: straight-on, 45-degree, and top-down. Add one wide display or shelf shot. That's 12–16 raw images minimum, enough content to fuel your entire week.
Minutes 15–20: Open Snapseed or Lightroom Mobile. Apply your saved preset or make the five essential edits to your top 6–8 shots.
Minutes 20–25: Crop for platforms, 4:5 for Instagram, 1:1 for Facebook and Google Business Profile.
Minutes 25–30: Upload to Meta Business Suite (it's free) and schedule posts across the week with captions and hashtags.
That's it. Thirty minutes gives you professional-quality photos that generic imagery and competitors simply can't match.
You don't need a photography background. You don't need a budget. You don't even need to clear an afternoon. Everything you need for great liquor store product photography is already in your pocket and on your shelves.
The techniques in this guide, window lighting with a $3 foam board, the rule of thirds on your phone's grid, five quick edits in a free app, are simple enough to start using today. Not next quarter. Not when things slow down. Today. Your first photo won't be perfect, and that's fine. Your tenth will be noticeably better. Your fiftieth will look like you hired someone.
The stores that are growing their social media followings right now aren't waiting for perfect conditions. They're showing up consistently with authentic, well-crafted images of their real products and real spaces. That's the bar, and it's one you can clear this week.
Here's your move: Block 30 minutes on your calendar this week. Grab your phone, pick three bottles, find your best window light, and shoot. Edit with the five-step workflow. Post one photo. Then do it again next week. That's how a social media presence gets built, one intentional photo at a time.